If you're running a Windows operating system and would like to have access to your campus linux account, is it even possible? Yes! As long as you have internet access, you should be able to use your campus linux account as easily as if you were on campus. What's needed is a client “ssh” program that will make the connection for you. There are many ssh programs for Windows, but probably the most popular is putty.exe (which also happens to be free!). If you'd like to download a copy, go to the “Handouts” page for your class.
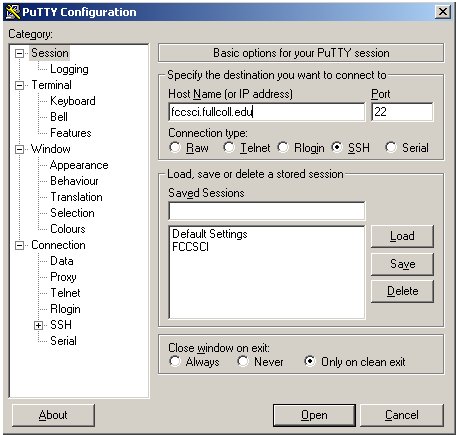
Once you've downloaded putty.exe to your Windows system, all you have to do is double-click on its icon to start the program. Once you do that you'll be presented with a dialog where you can enter the name of the server for your campus linux account (which is fccsci.fullcoll.edu). Look at the image below for an example (NOTE --use a “Port” value of 5150 instead of 22):
After you've entered fccsci.fullcoll.edu in the “Host Name (or IP address)” field of the dialog, just click on the “Open” button to begin your remote login session. This will bring up a window where you will be presented with the login prompt for the campus linux server (see below):
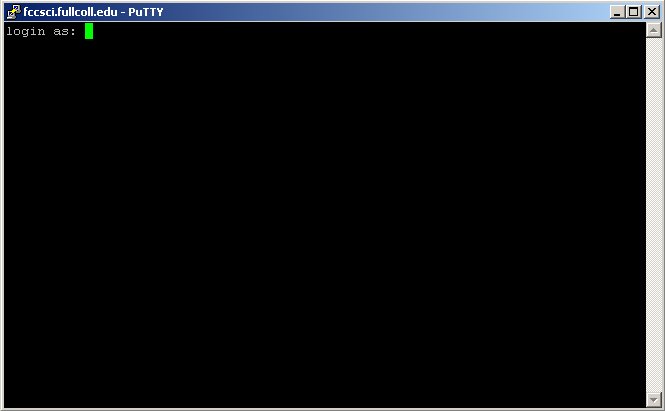
From here you should enter your login
name and press the Enter key. Then you'll be prompted for your
password, and you'll do the same. If you entered the username and
password in correctly, you should see that you've successfully logged
in and can begin working:
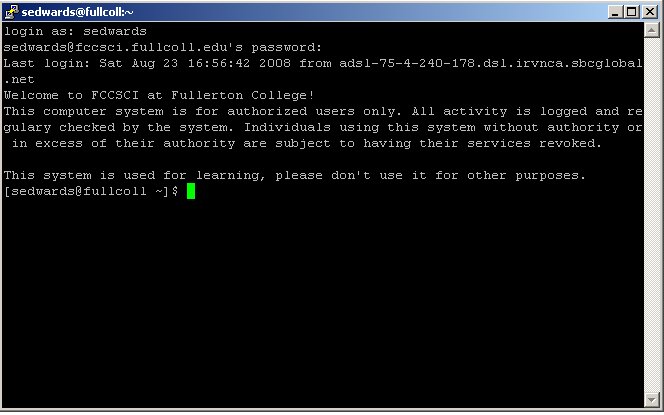
At this point you can work as you would normally (e.g., use nano or jmacs to create text files, g++ to compile them, etc.). When you've finished your session, all you have to do is type “exit” and press the Enter key (or just type Ctrl+D). That's all there is to it!
(If you'd like more information on how to use the jmacs or nano text editors, see the Handouts page for some helpful links.)